Zendesk
This page provides information for connecting Appsmith to Zendesk, which allows you to interact with support data such as tickets and users within your applications.
Connection parameters
The following section is a reference guide that provides a complete description of all the parameters to connect to an Zendesk datasource.
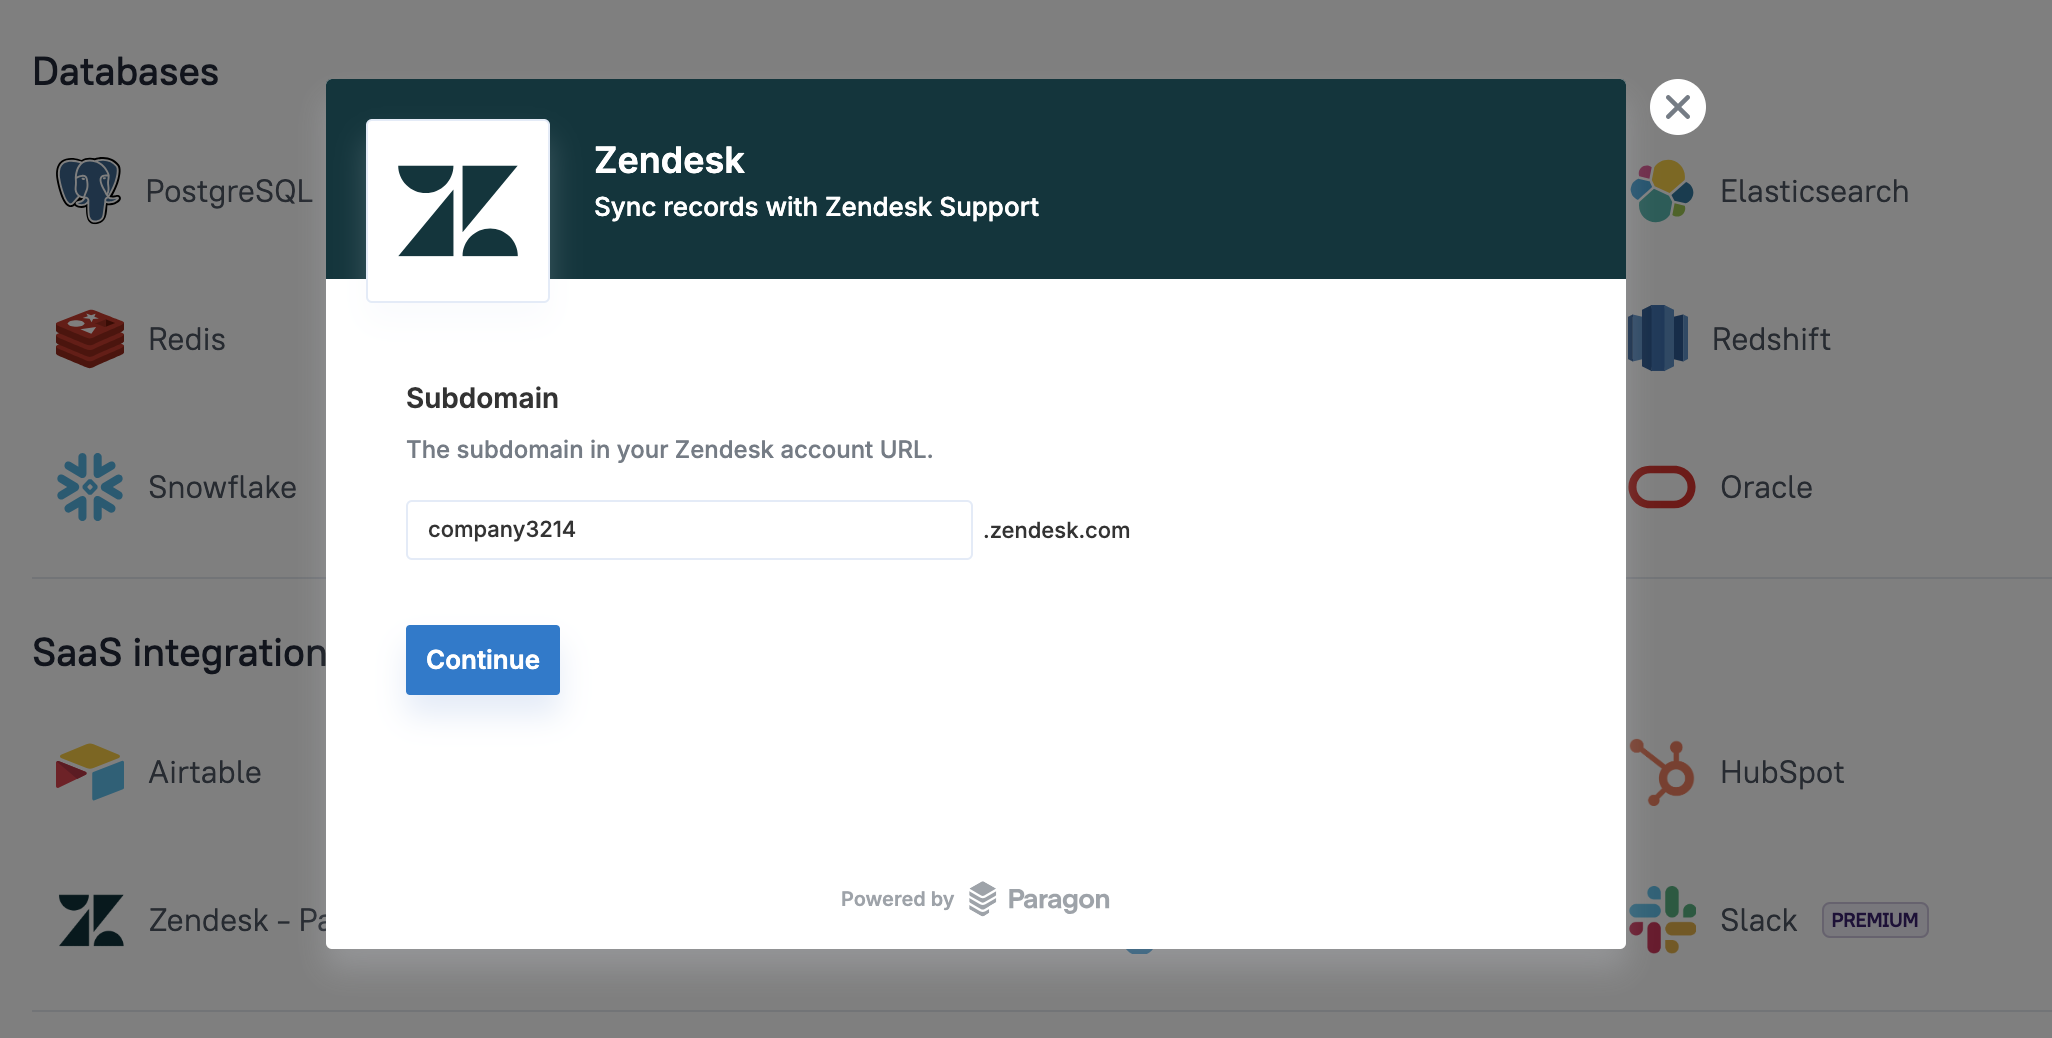
Subdomain
The subdomain is the unique identifier in your Zendesk account URL. It typically appears as the first part of your Zendesk domain and looks like this:
https://<your-subdomain>.zendesk.com
For more details, refer to the Zendesk documentation.
Authentication
After adding your subdomain, you are redirected to the authentication page. The page displays the authentication method based on your Zendesk account configuration. This could be:
- Basic Authentication (Email and Password): Authenticate using your email address and password.
- API Token: Authenticate using your email address and API token.
- OAuth: Authenticate via OAuth if supported by your Zendesk account.
Query Zendesk
The following section is a reference guide that provides a description of the available commands with their parameters to create Zendesk queries.
Create Ticket
The create ticket command allows you to generate a new ticket in Zendesk by providing relevant details such as the subject, description, requester information, and optional fields like tags, priority, and due dates. It is used to log new issues or requests in the system for tracking and resolution.
Ticket Subject string
This property defines the title or brief description of the issue or request. It helps to summarize the content of the ticket in a concise manner, allowing for easier identification and prioritization.
Example: If you want to dynamically set the subject from an Input widget, use:
{{Title_Input.text}}
// Example: "Broken link on homepage"
Ticket Description string
This property provides a detailed explanation of the issue or request. It allows the requester to fully describe the problem or inquiry, helping the support team understand the context and provide better assistance. The description must include relevant details, such as steps to reproduce the issue, error messages, or any other information that can aid in resolving the ticket.
Example: If you want to dynamically set the subject from an Input widget, use:
{{Info_Input.text}}
Ticket Requester Name string
This property holds the name of the person submitting the ticket. It identifies the individual who needs assistance or support, allowing for personalized communication and a more effective resolution process.
Example: If you want to dynamically set the Requester Name from an Input widget, use:
{{user_name.text}}
// Example: "John Doe"
Ticket Requester Email string
This property holds the email address of the person submitting the ticket. It ensures the requester can be contacted for updates, resolutions, or clarifications.
Example: If you want to dynamically set the Requester Email from an Input widget, use:
{{user_email.text}}
// Example: "john.doe@example.com"
Assignee Id number
This property defines the Zendesk Agent assigned to handle the ticket. It helps track responsibility for resolving the issue, ensuring that each ticket is directed to the appropriate support representative. If not specified, the ticket remains unassigned.
The Assignee ID is a unique numeric identifier for each Zendesk Agent. Users can find it in the Zendesk Admin Center under Team Members.
Example: To dynamically set the Assignee ID (Agent ID) from a Select widget, use:
{{fetch_agent.selectedOptionValue}}
//632345679
Ticket Type
This property defines the type of ticket, helping categorize the request for better organization and management. It assists in determining the correct workflow for handling the ticket. If not provided, the default value is usually question.
- Problem: For issues or bugs that need to be fixed.
- Incident: For service disruptions or outages.
- Question: For general inquiries or support questions.
- Task: For administrative or procedural tasks.
Ticket Priority
This property defines the urgency of the ticket. It helps support teams prioritize tickets and address the most critical issues first. If not provided, the default value is usually normal.
- Low: Non-urgent issues that can be handled later.
- Normal: Standard tickets that need resolution within a reasonable time frame.
- High: Urgent issues requiring quick attention.
- Urgent: Critical issues that need immediate resolution.
Ticket Status
This property specifies the current status of the ticket, indicating its progress in the resolution process. It helps categorize tickets for better management and visibility.
- New: The ticket has been created but not yet assigned or worked on.
- Open: The ticket is currently being worked on.
- Pending: Waiting for more information from the requester.
- Hold: Waiting for a third party or internal process before proceeding.
- Solved: The ticket has been resolved but not yet closed.
Ticket Due At
This property specifies the due date and time for the ticket, applicable only if the ticket type is set to task. The date must be provided in the ISO 8601 format (YYYY-MM-DDTHH:mm:ssZ), which ensures accurate time tracking and scheduling.
Example: To dynamically set the due date based on a Datepicker widget:
{{DatePicker.selectedDate}}
Ticket Tags
This property allows associating tags with the ticket for categorization or easy search. Tags help to quickly filter tickets by specific topics or issues.
Example: For tickets related to a specific feature or campaign, tags such as homepage, bug, or marketing can be applied.
Ticket External Id
This property is used for associating the ticket with an external system or tracking reference. It helps link the ticket to an issue in a different tool or system.
Example: If the ticket is related to a bug tracked in an external issue tracker, the external ID could be the reference number from that system.
Ticket Custom Fields
This property is used for associating the ticket with an external system or tracking reference. It helps link the ticket to an issue in a different tool or system.
Example: If the ticket is related to a bug tracked in an external issue tracker, the external ID could be the reference number from that system.
List
The list command retrieves all tickets from your Zendesk account. The response includes ticket data along with metadata such as status, rate limits, and headers.
Example response:
{
  "data": {
    "status": 200,
    "headers": {
      "content-type": "application/json; charset=utf-8",
      "x-zendesk-api-version": "v2",
      "x-rate-limit": "400",
      "ratelimit-remaining": "398"
    },
    "output": {
      "tickets": [
        {
          "id": 12345,
          "subject": "Login issue with user account",
          "status": "open",
          "assignee": "agent1",
          "priority": "high"
        }
      ],
      "count": 1
    }
  }
}
The response for the list command includes the following:
- status: The HTTP status code of the response (e.g.,
200). - headers: Contains response metadata, such as
content-type,x-zendesk-api-version, and rate limit information likex-rate-limitand ratelimit-remaining. - output: Contains the list of tickets and the total count of tickets.
- tickets: An array of ticket objects, each containing details such as
id,subject,status,assignee, andpriority. - count: The total number of tickets returned in the response.
Update Ticket
The update ticket command enables you to modify an existing ticket in Zendesk by updating its properties, such as status, description, priority, or due date. This is used to manage and track changes to the ticket as it progresses through the resolution process.
Ticket ID
This property specifies the unique identifier of the ticket to update. It is a mandatory field used to ensure the correct ticket is being modified.
Example: To dynamically reference the ticket ID from a selected row in a Table widget, use:
{{Table1.selectedRow.ticketId}}
// Example: "56690"
Subject��
This property allows you to update the title or brief description of the ticket. It helps to revise the summary of the issue for clarity or to reflect any changes in the request.
Example: To update the subject from an input widget, use:
{{Title_Input.text}}
// Example: "Updated: Broken link on homepage"
Description
This property provides the ability to update the detailed explanation of the issue. Use it to add more information, clarify the problem, or reflect the current status of the ticket.
Example: To update the description dynamically from a text widget, use:
{{Info_Input.text}}
// Example: "The broken link is on the 'Contact Us' page and leads to a 404 error."
Requester Name
This property allows you to update the name of the person associated with the ticket. It is useful if the requester changes or needs to be corrected.
Example: To update the requester name dynamically from the logged-in user’s details, use:
{{appsmith.user.username}}
// Example: "Jane Doe"
Requester Email
This property updates the email address of the person associated with the ticket. It ensures the requester’s contact details remain accurate for ongoing communication.
Example: To update the requester email dynamically, use:
{{appsmith.user.email}}
// Example: "jane.doe@example.com"
Assignee Id
This property updates the Zendesk Agent assigned to the ticket. Use it to reassign the ticket to another agent or team.
Example: To update the assignee ID dynamically from a dropdown selection, use:
{{fetch_agent.selectedOptionValue}}
// Example: "23456789" (Agent ID)
Type
This property updates the type of the ticket. Use it to change the category of the request to better reflect the nature of the issue.
Problem: Issues or bugs needing fixes.Incident: Service disruptions or outages.Question: General inquiries or support questions.Task: Administrative or procedural tasks.
Priority
This property updates the urgency of the ticket. Use it to adjust the priority as circumstances change.
Low: Non-urgent issues.Normal: Standard tickets needing resolution.High: Urgent issues requiring quick attention.Urgent: Critical issues needing immediate resolution.
Status
This property updates the current status of the ticket, indicating its progress. Use it to track and manage the ticket’s resolution.
New: The ticket is created but not yet acted on.Open: The ticket is being worked on.Pending: Waiting for more information from the requester.Hold: Waiting on a third party or process.Solved: The ticket has been resolved but not yet closed.
Due At
This property updates the due date for the ticket, applicable for tasks only. The date must be in ISO 8601 format (YYYY-MM-DDTHH:mm:ssZ).
Example: To update the due date dynamically from a date picker widget:
{{DatePicker.selectedDate}}
// Example: "2025-01-25T15:00:00Z"
Tags
This property updates the tags associated with the ticket, allowing for better categorization or search. Add or modify tags to keep the ticket organized.
External Id
This property is used to associate the ticket with an external system or tracking reference. Update it to reflect changes in external issue trackers or related systems.
Example: To set the external ID dynamically:
{{ExternalId_Input.text}}
// Example: "BUG-4567"
Delete Ticket
The delete ticket command permanently removes a ticket from Zendesk. This action is irreversible and intended for cleanup or administrative purposes.
Ticket ID
This is the unique identifier of the ticket to be deleted. It ensures that the correct ticket is targeted for deletion.
Example: If the ticket ID is dynamically fetched from a Table's selected row, use:
{{TicketTable.selectedRow.ticket_id}}
Get Ticket by ID
The get ticket by ID command allows you to retrieve the details of a specific ticket using its unique ticket ID. This command is useful when you want to fetch ticket information for a given ticket to review or update it. It helps ensure you access the correct ticket by using its ID.
Ticket ID
This property specifies the unique identifier of the ticket to retrieve. The ticket ID is typically generated when the ticket is created, and you can obtain it from the ticket list.
Example: If the ticket ID is dynamically fetched from a Table's selected row, use:
{{TicketTable.selectedRow.ticket_id}}